

Contents
- Introduction
- Run Oracle Universal Installer
- Database Configuration Assistant
- Enterprise Manager Configuration Assistant
- Apply Latest Patchset
Introduction
I recently installed Oracle 9i on Windows Server 2003 R2 Service Pack 1 and made the following notes. I used the Oracle discs for version 9.2.0.1.0. Note that some text has been blurred to protect the anonymity of the client.
Downloaded latest patchset from metalink (in this case it was Patch 9.2.0.7 for win32; p4163445_92070_WINNT.zip).
IMPORTANT: Sometimes I find better ways of doing things after I've taken the screenshots. Be sure to refer to the text below each screen shot for any alterations.
Run OUI
Remove the ORACLE_HOME environment variable if it exists.
Insert Oracle disc 1 and select "Install/Deinstall Products". This runs the Oracle Universal Installer.
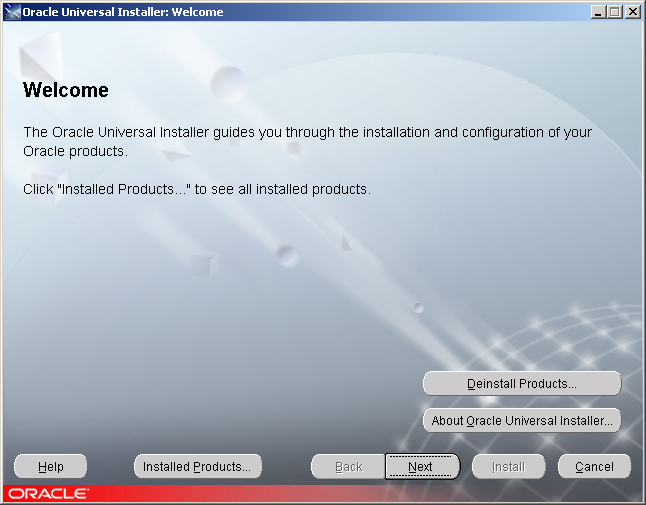
Welcome
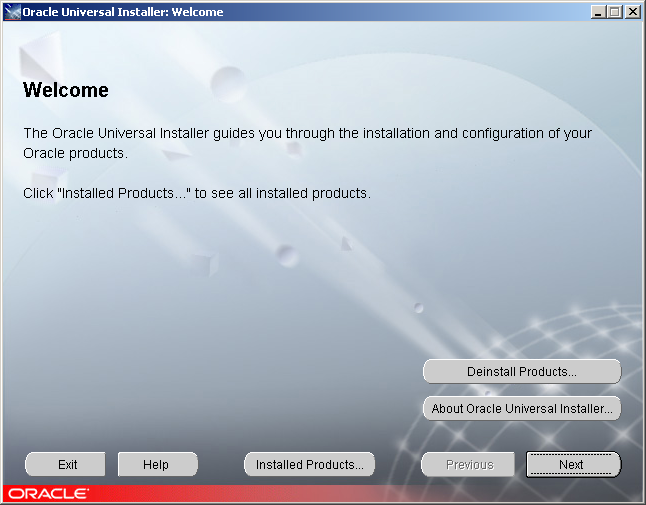
Click Next.
File Locations
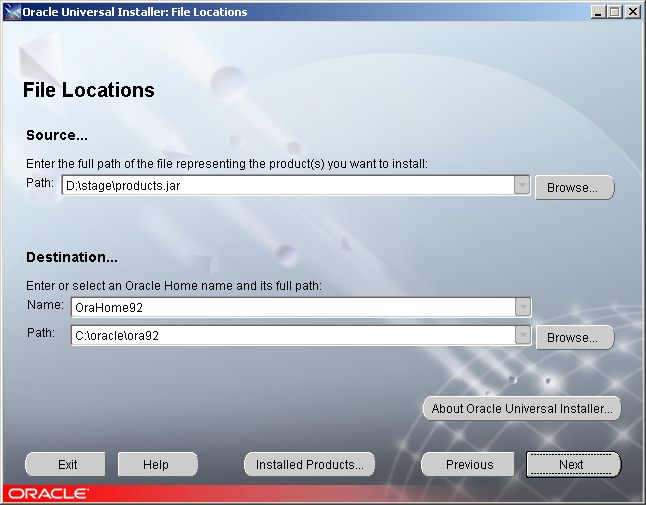
We put oracle into D:\oracle\ora92. Click Next.
Available Products
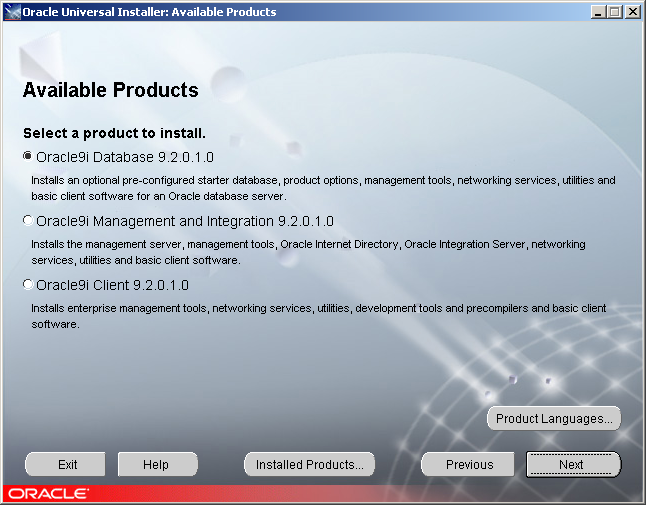
Select Oracle9i Database 9.2.0.1.0 and Click Next.
Installation Types
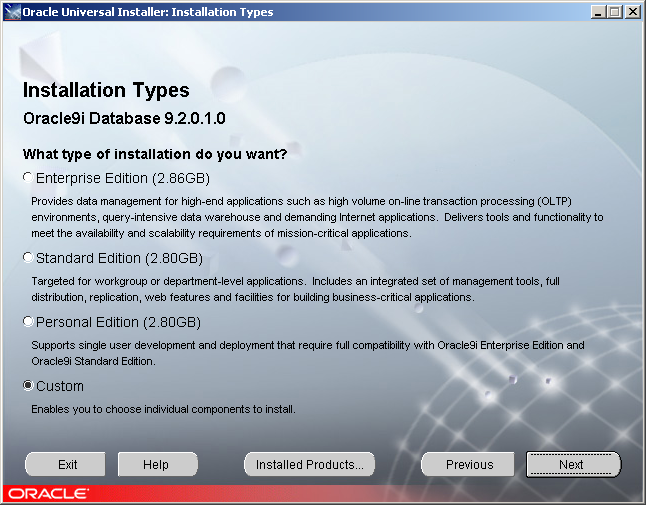
Select Custom and Click Next.
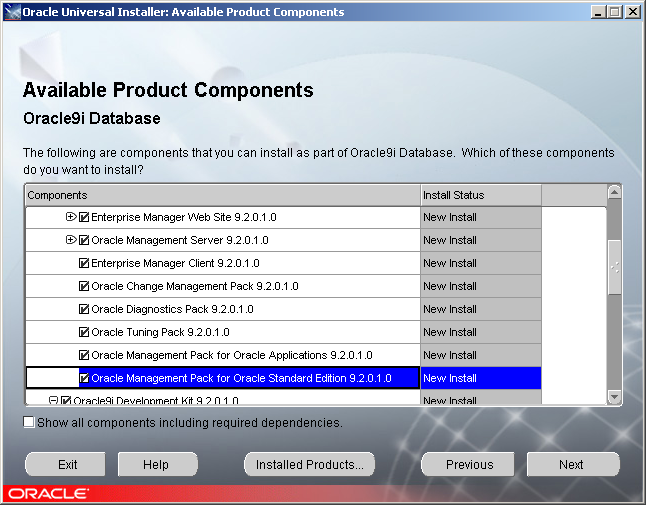
Available Product Components
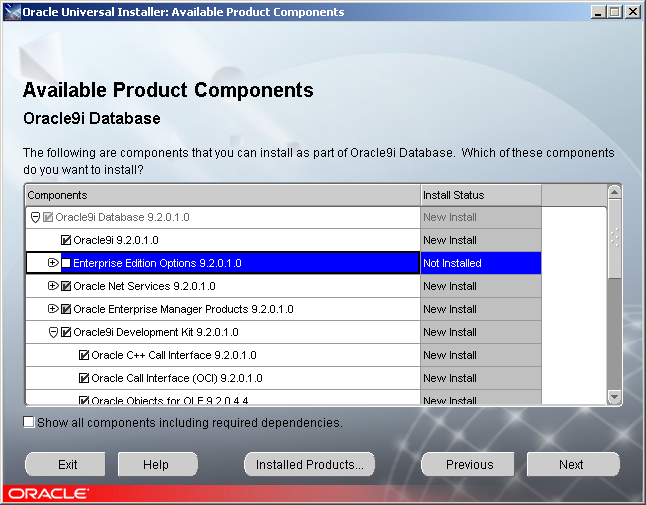
Deselect "Enterprise Edition Options", select "Oracle Management Pack for Oracle Standard Edition 9.2.0.1.0" under "Oracle Enterprise Manager Products 9.2.0.1.0. Click Next.
Component Locations
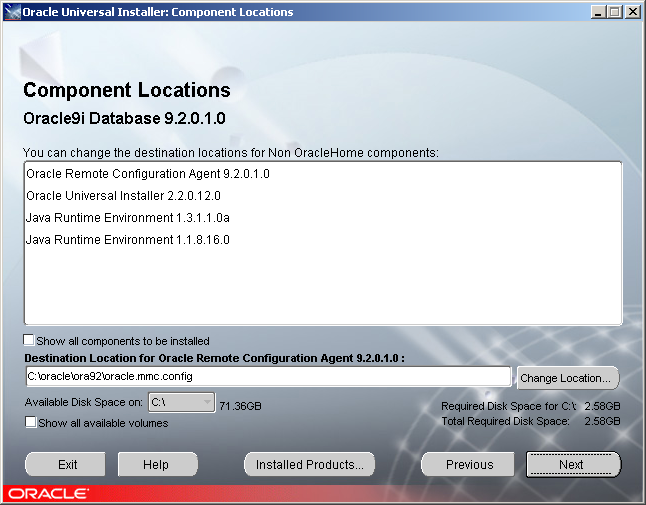
Made sure all components went into D:\oracle. Click Next.
Oracle Management Server Repository
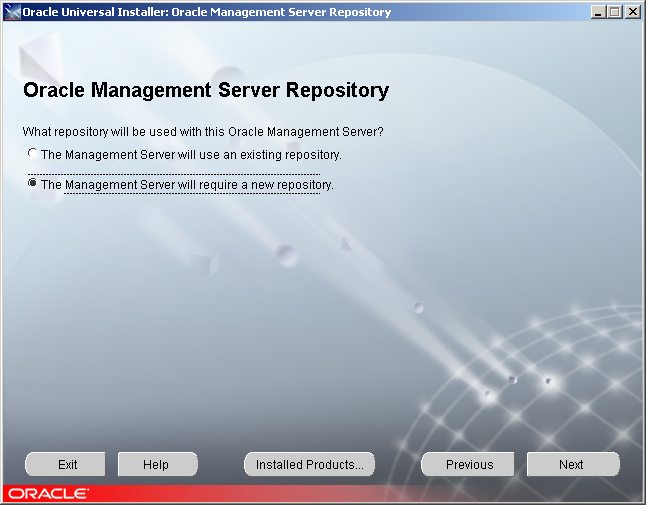
Select "The Management Server will require a new repository" and click Next.
Create Database
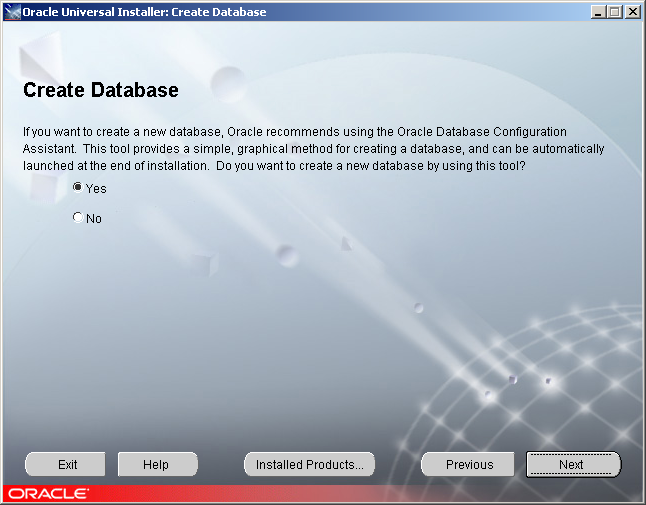
Select Yes and click Next.
Summary
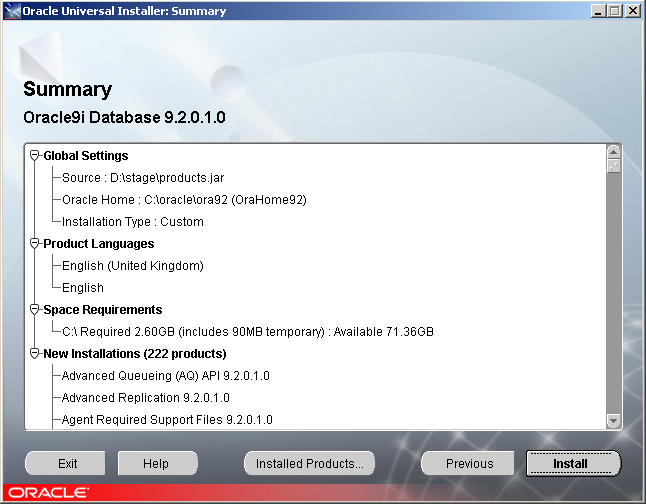
Review the options and space requirements and click Install.
Install

If you want to watch the log as it goes, fire up Cygwin and do something like below. This will probably slow down the installation though:
michael@questtest ~
$ cd c:

michael@questtest /cygdrive/c
$ cd Program\ Files/Oracle/Inventory/logs

michael@questtest /cygdrive/c/Program Files/Oracle/Inventory/logs
$ tail -f installActions2006-07-11_12-01-41PM.log
Disk Location
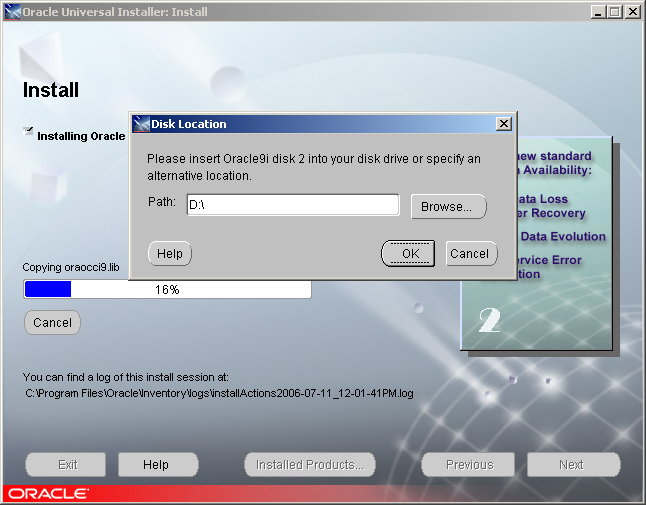
Don't forget you'll have to swap discs!
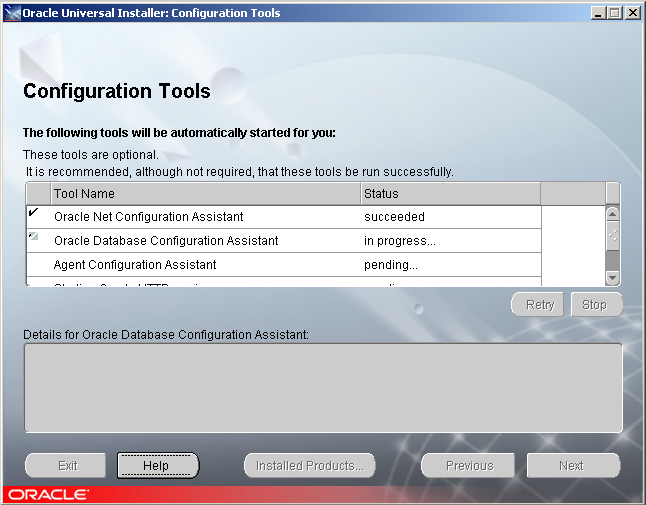
Oracle Net Configuration Assistant
Welcome
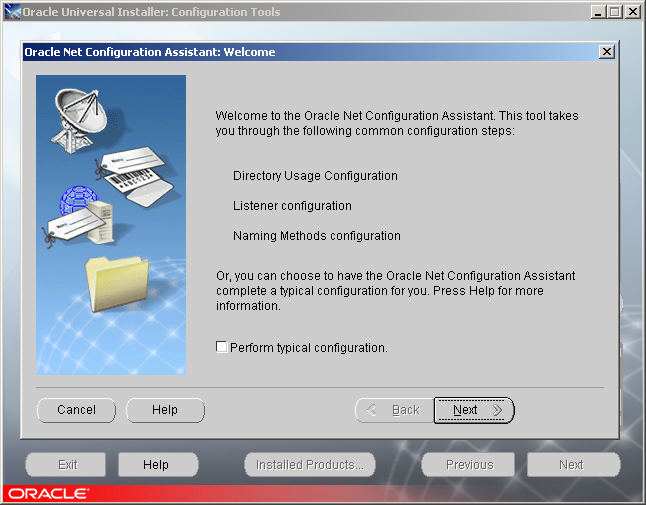
Select "Perform typical configuration" and click Next.
Database Configuration Assistant
DBCA: Welcome
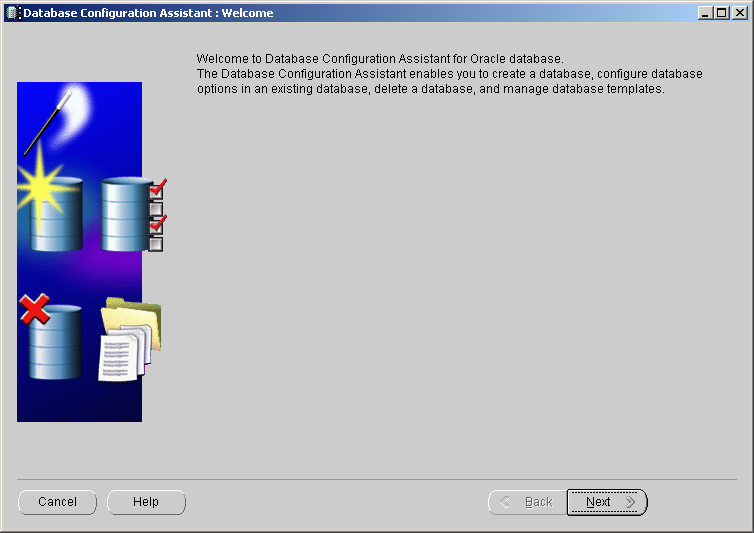
Click Next.
DBCA: Step 1 of 8: Operations
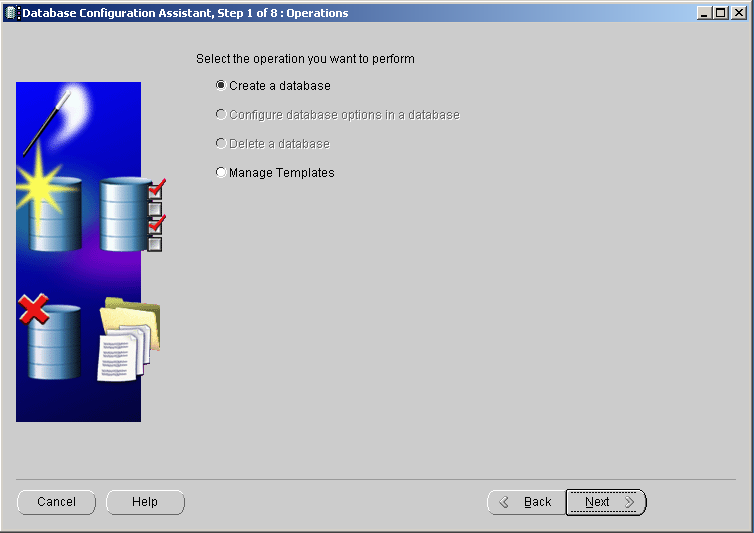
Select "Create a database" and click Next.
DBCA: Step 2 of 8: Database Templates
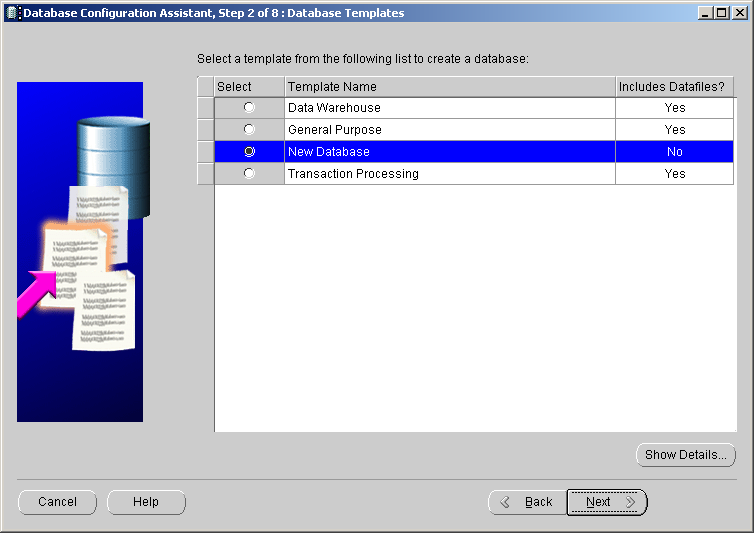
Select "New database" and click Next.
DBCA: Step 3 of 8: Database Identification
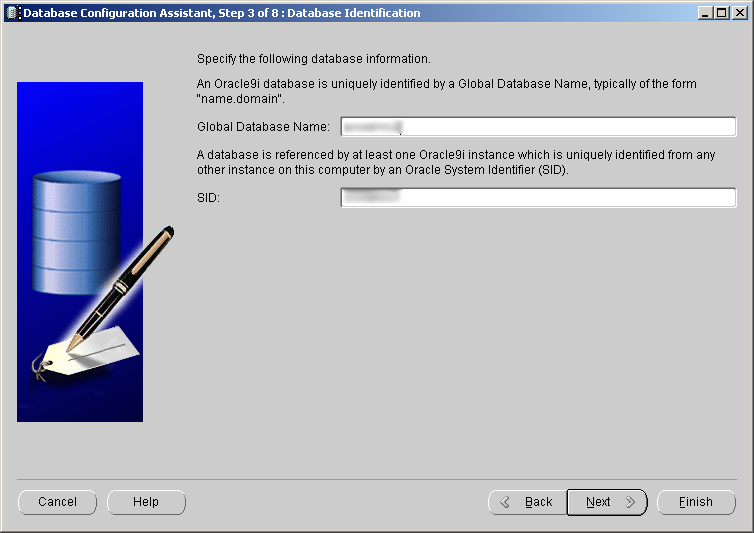
We enter the same name for the global name and your SID. Click Next.
DBCA: Step 4 of 8: Database Identification
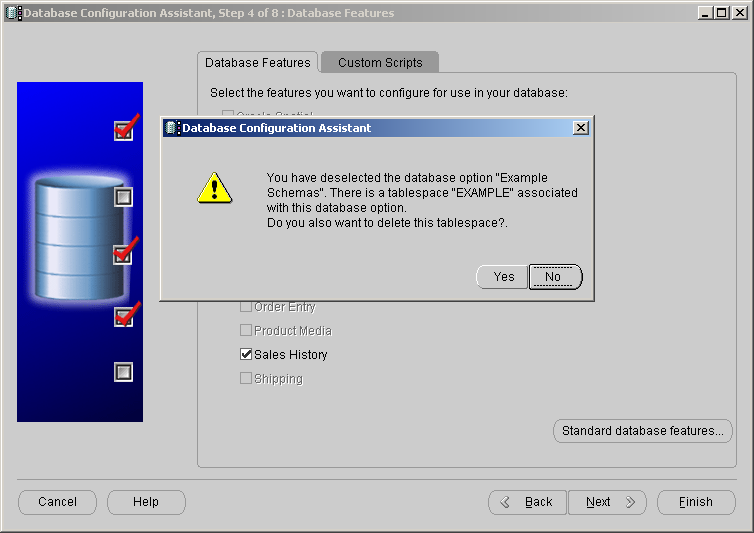
Deselect "Example Schemas" and say yes to delete the tablespace in the dialogue box. Click Next.
DBCA: Step 5 of 8: Database Connection Options
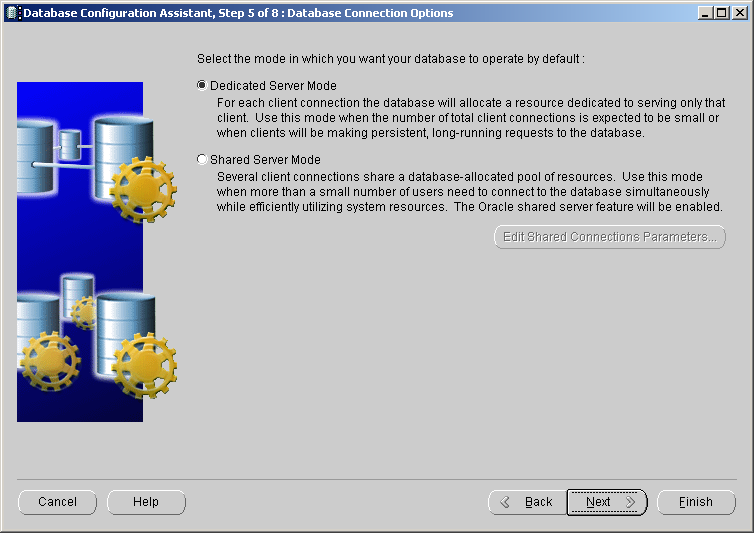
Select "Dedicated Server Mode" and click Next.
DBCA: Step 6 of 8: Initialization Parameters
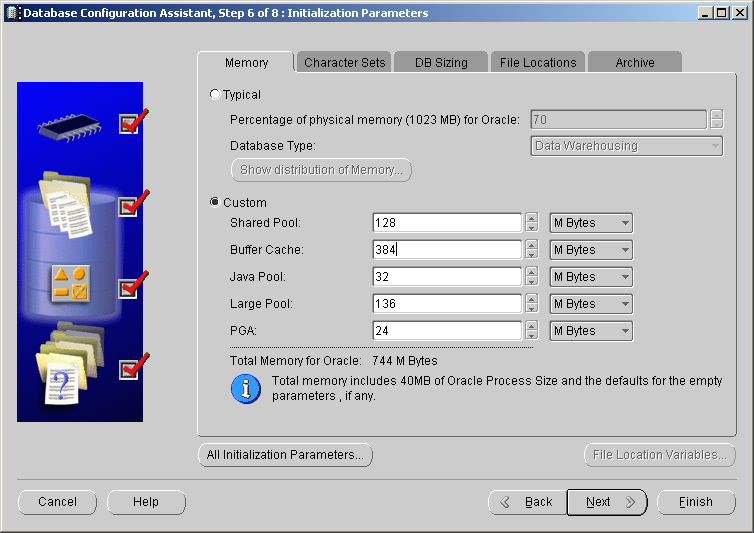
These vary depending on the application and the hardware. The values I used are in the screen shot.
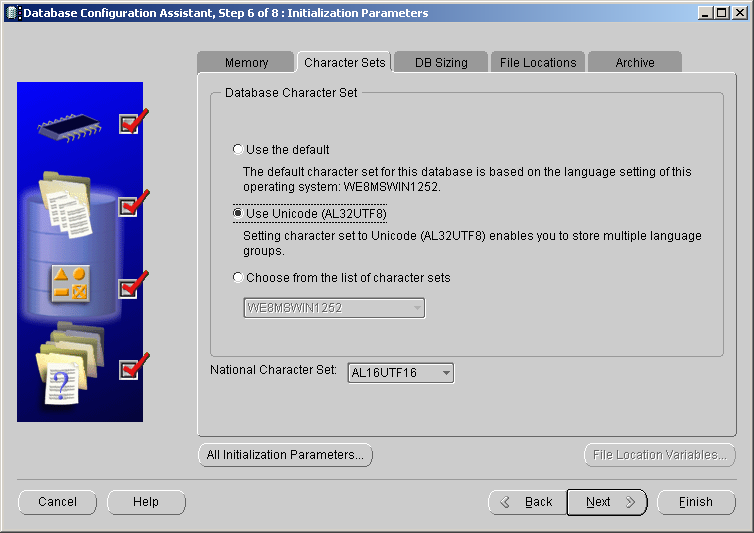
Change the Database Character Set to AL32UTF8.
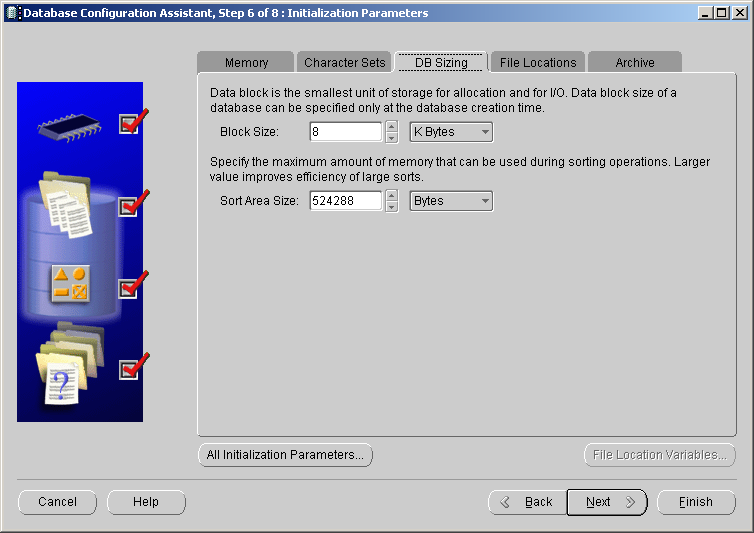
The default block size and sort area are OK.
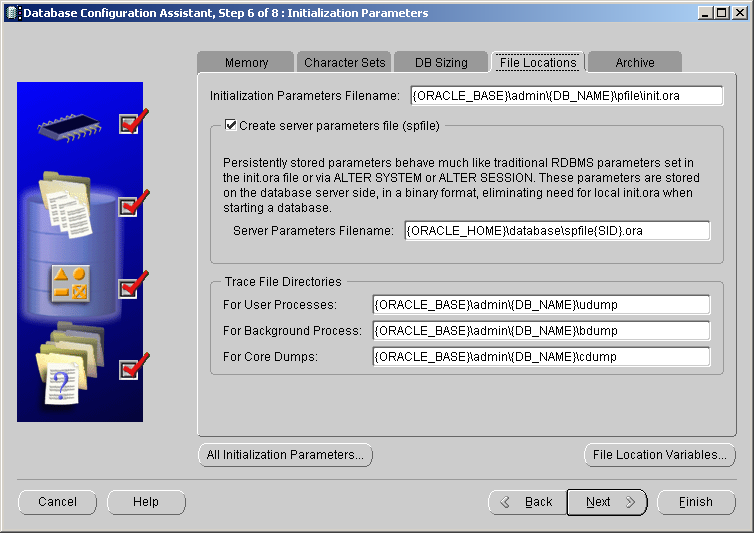
The default file locations are OK too.
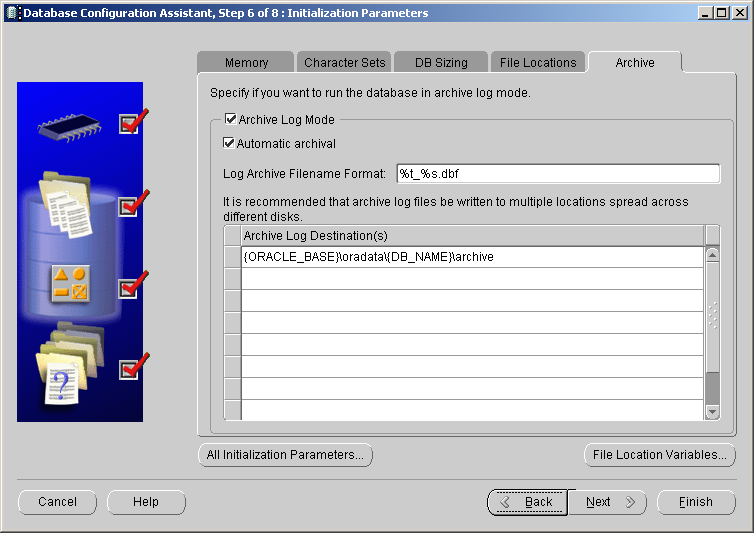
Turn on Archive Log Mode. Consider using another drive/partition for these. Click Next.
DBCA: Step 7 of 8: Database Storage
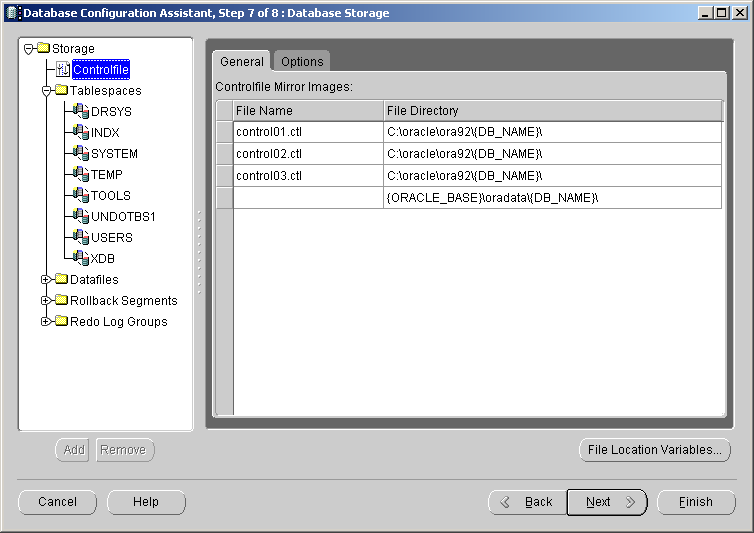
Review the locations of the database files. Control file on D:, Y: and Z:. Tablespaces on Y:, Redo logs on Z:. Click Next.
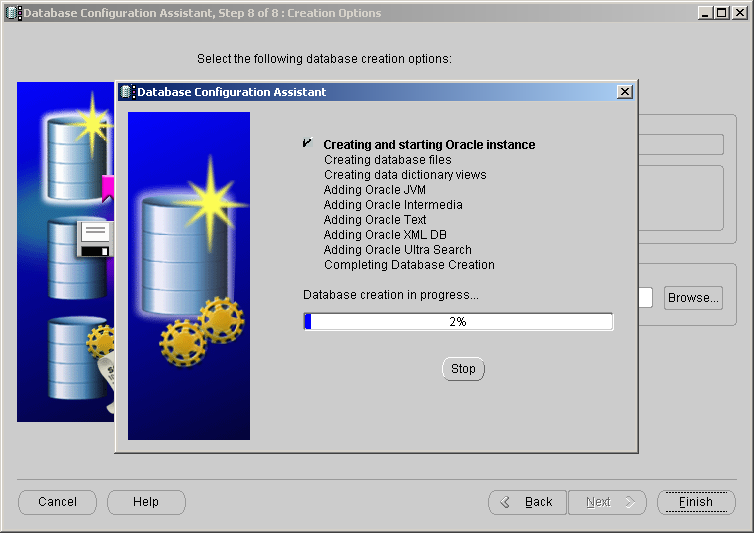
DBCA: Step 8 of 8: Creation Options

Select "Generate Database Creation Scripts" to save your choices. Click Finish.
Summary
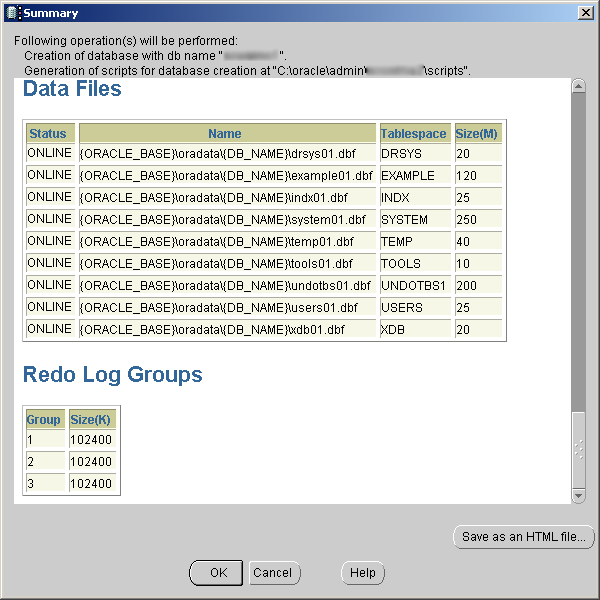
Saved HTML file for reference at C:\Quest\database-summary.html, then click OK.
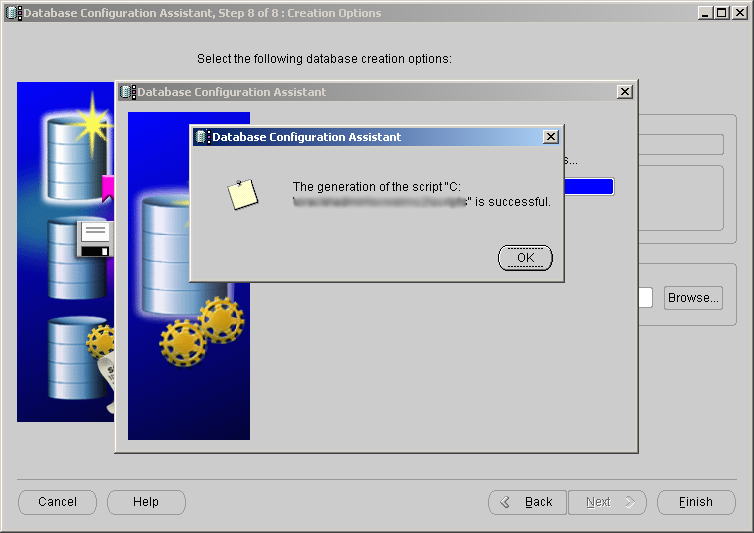
Scripts should be created. Click OK.
The first couple of times we got error ORA-03113 here. This was because the user we were installing as wasn't in the administrators group on the local machine.
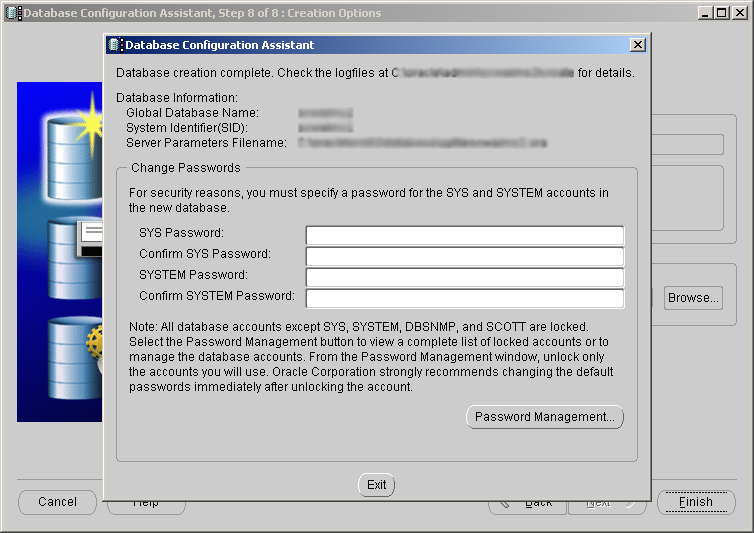
Enter your SYS and SYSTEM passwords and click Exit.
Enterprise Manager Configuration Assistant
EMCA: Step 1 of 3: Welcome
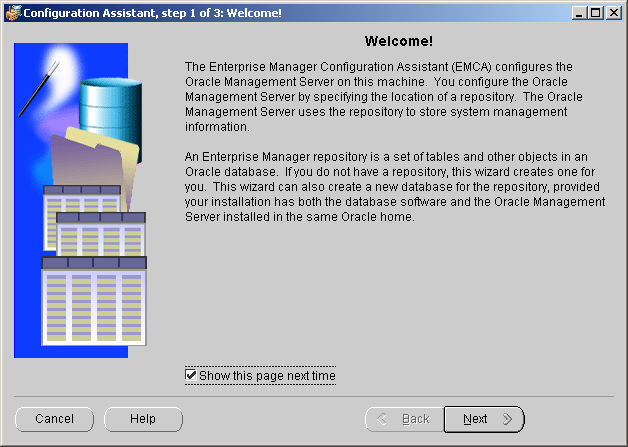
Click Next.
EMCA: Step 2 of 7: Create New Repository Options
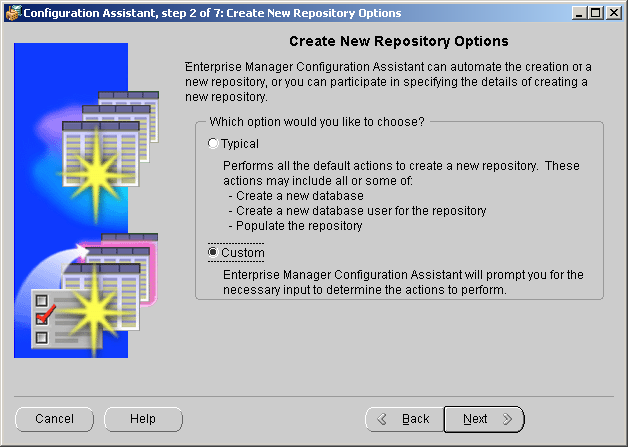
Select custom and click Next.
EMCA: Step 3 of 7: Select Database Location
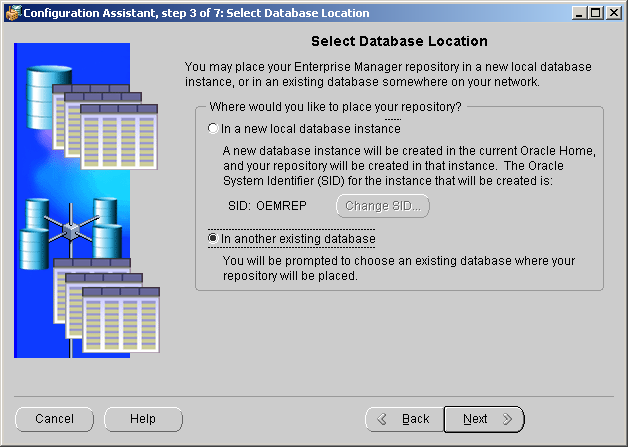
Select "In another existing database" and click Next.
EMCA: Step 4 of 7: Select Database for Repository

Enter the details for SYSTEM, the service as "localhost:1521:your SID", and click Next.
EMCA: Step 5 of 7: Repository Login Information
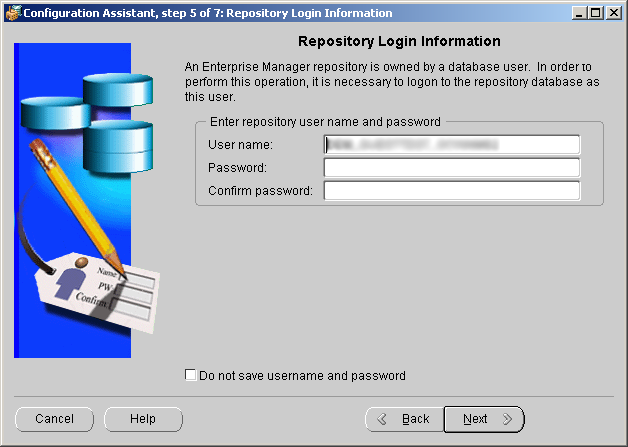
Enter a password twice and click Next.
EMCA: Step 6 of 7: Select Repository User Tablespaces

Defaults are fine. Click Next.
EMCA: Step 7 of 7: Create Repository Summary

Review and click Finish.
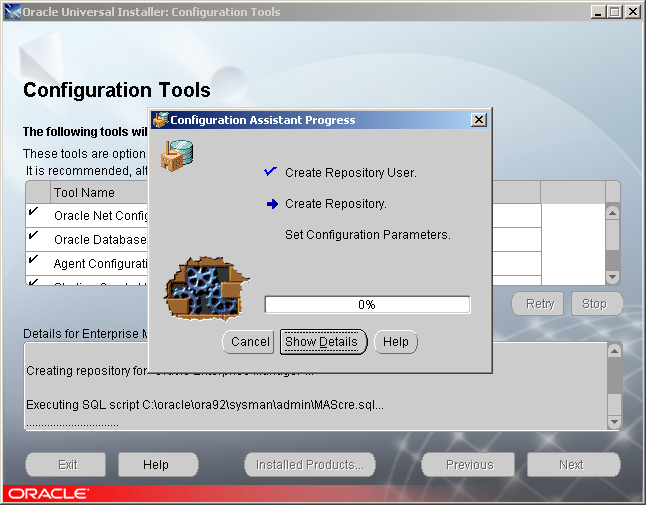
Another quick cup of tea.

Click close.
End of Installation
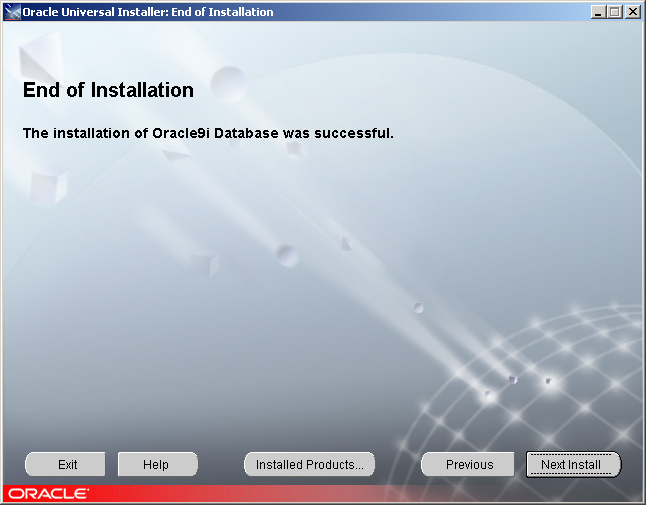
Click Exit.
Apply Latest Patchset
Login to Metalink and click on "Patches and Updates". Click "Simple Search" under patches. Search by "Product or Family", enter "RDBMS Server", select 9.2.0.x where x is the highest number. The platform is "Microsoft Windows (32-bit)".
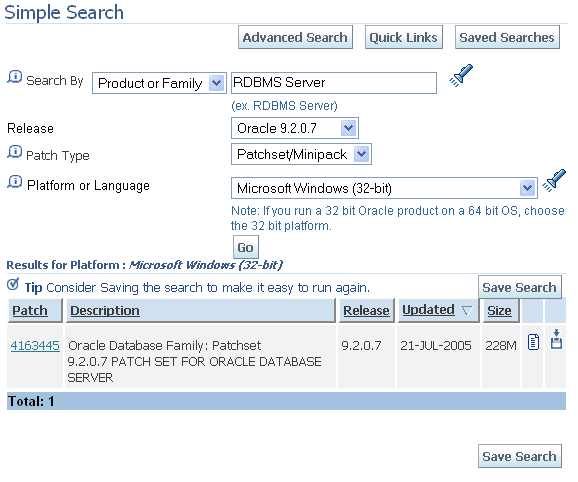
At the time of writing, 9.2.0.8 was the highest patch level, but wasn't available for 32-bit Windows so I took 9.2.0.7. Download the patchset and unzip to somewhere outside of ORACLE_HOME, e.g. C:\Oracle_patch.
Run C:\Oracle_path\Disk1\setup.exe. This starts the Oracle Universal Installer. Note: this is a different version of the OUI than the one you installed from the CD. You must use this newer version.
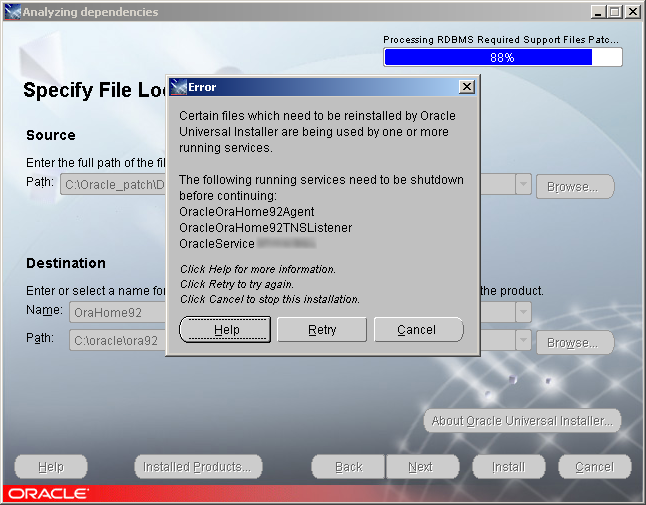
From Control Panel -> Administrative Tools -> Services, stop the following services:
- OracleOraHome92Agent
- OracleOraHome92TNSListener
- OracleOraHome92ManagementServer (asks for credentials - use sysman/oem_temp)
- OracleServiceyour SID
- OracleOraHome92HTTPServer
Welcome
Click Next.
Specify File Locations
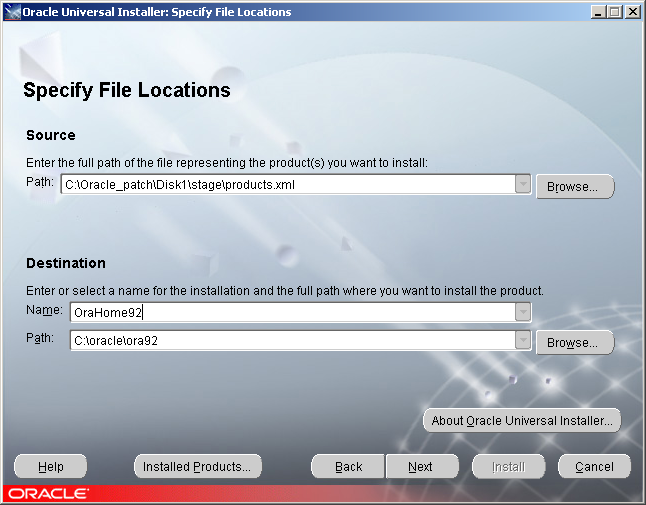
Enter OraHome92 into the name field and this should update the path to your ORACLE_HOME. Click Next.
If any services are still running you'll see this:
Summary
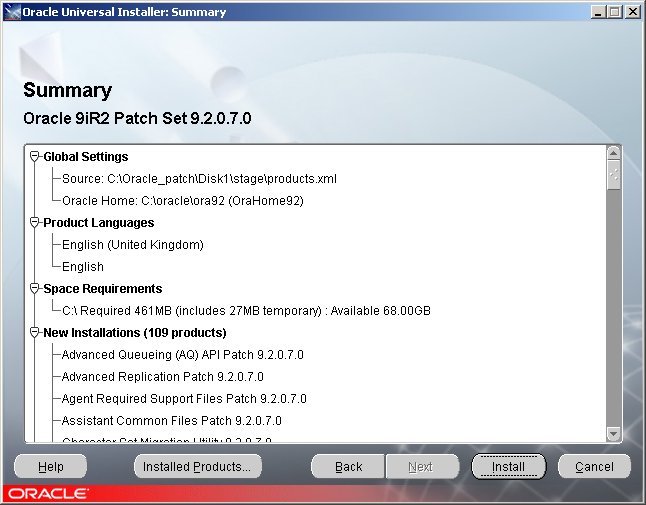
Click Install.
Install
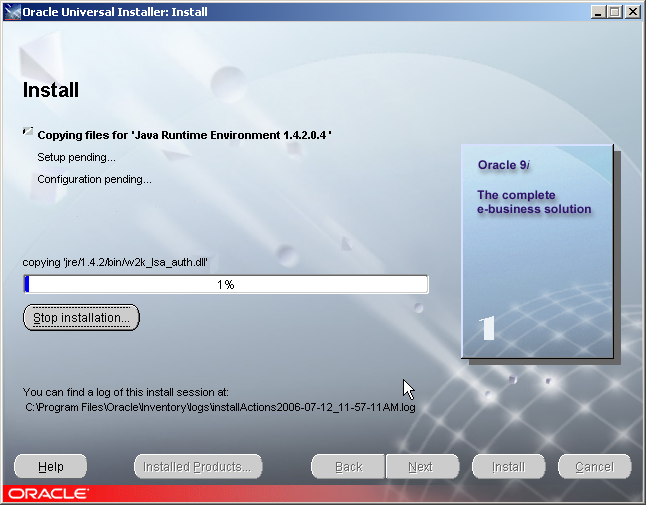
Fancy a brew?
End of Installation
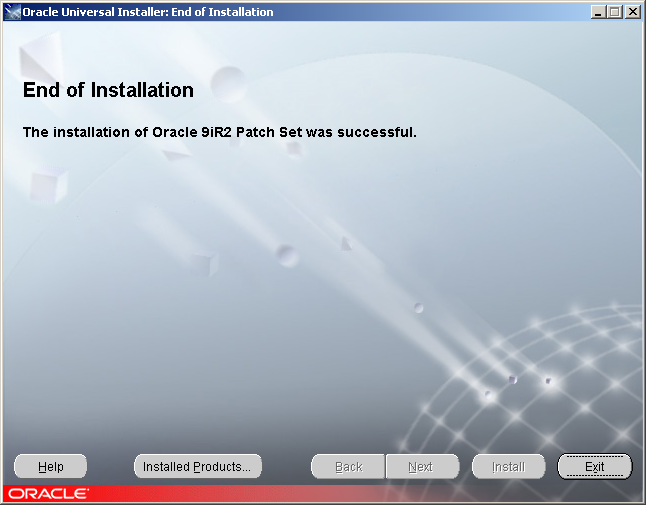
Click Exit, then restart the following services:
- OracleOraHome92Agent
- OracleOraHome92TNSListener
- OracleOraHome92ManagementServer
Upgrade the database
Run SQL*Plus as SYS, restart the database and run the upgrade script. Note that this took around 30 mins for just one smallish OpenACS schema:
SHUTDOWN ABORT
STARTUP
SHUTDOWN IMMEDIATE
STARTUP MIGRATE
SPOOL C:\patch.log
@D:\Oracle\ora92\rdbms\admin\catpatch.sql
SPOOL OFF
Review C:\patch.log for any errors (there were none). Restart the database in the normal way.
Note: I forgot this step and it didn't manifest itself until I tried to drop a user, which gave the error:
drop user user cascade;
*
ERROR at line 1:
ORA-01001: invalid cursor
ORA-00600: internal error code, arguments: [qmxiUnpPacked2], [121], [], [], [],
[], [], []
Detailed instructions can be found accompanying the patchset.
Sep 2006